

CG6Lemon
Detailing Enthusiast
Background story:
This customer contacted me on a forum about almost 2 months ago to talk about some "rust" looking damage on his trunk lid. We exchanged information briefly and I set up an appointment with him to drop the car off so I can go over the car and his concerns for the car in person.
Upon arrival the car was clean since he mentioned he didn't drive it for a long time and he just garaged it and drove his daily beater. He went over the problematic areas and I noted them down in my mind as we were going over the car. The areas of his concerns were headlights, iron particles all over the car, but mostly concentrated on trunk lid, improving neglected muffler tips, and improving rear diffuser since it's faded.
I explained to him what caused each defect and what my process was to correct each problem. He felt very confident in my approach, knowledge, and expertise. We set up an appointment to drop off the car for me to work on. Before he took off I quoted him a 6-7 hr job. I underestimated the muffler tips, and the design of the headlights which required more time to get it presentable so total time came to 8 hr 30mins.
Car: 05 Mazda RX8

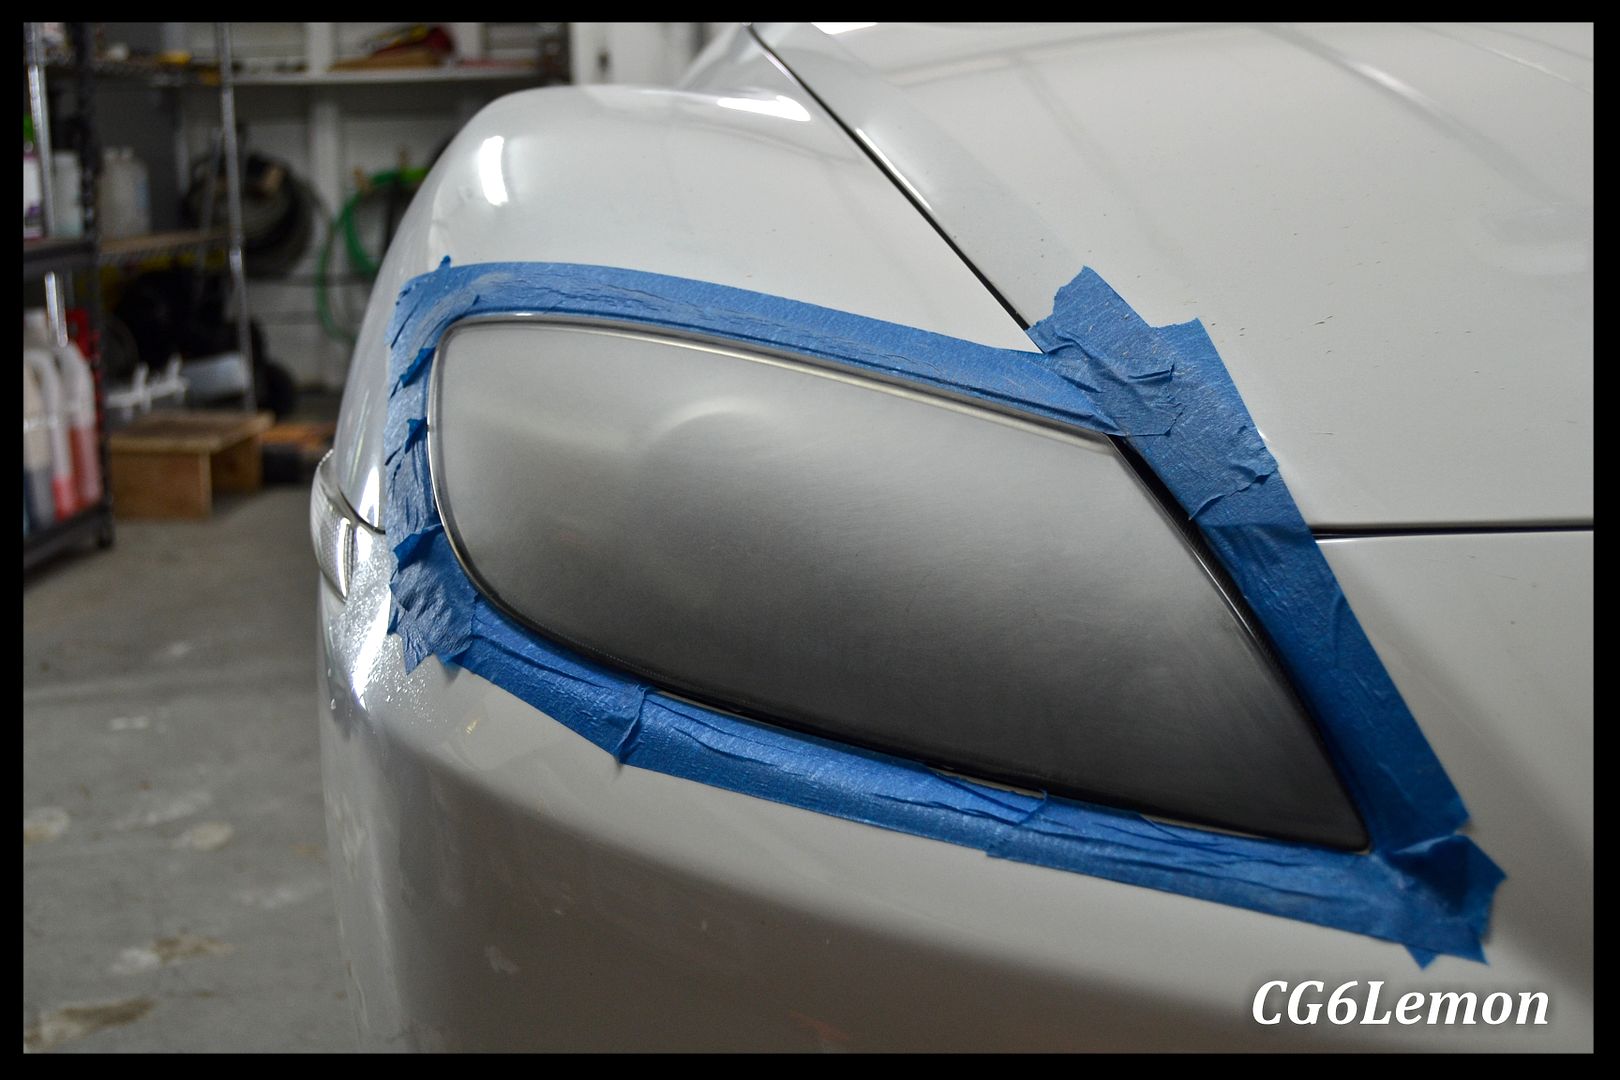
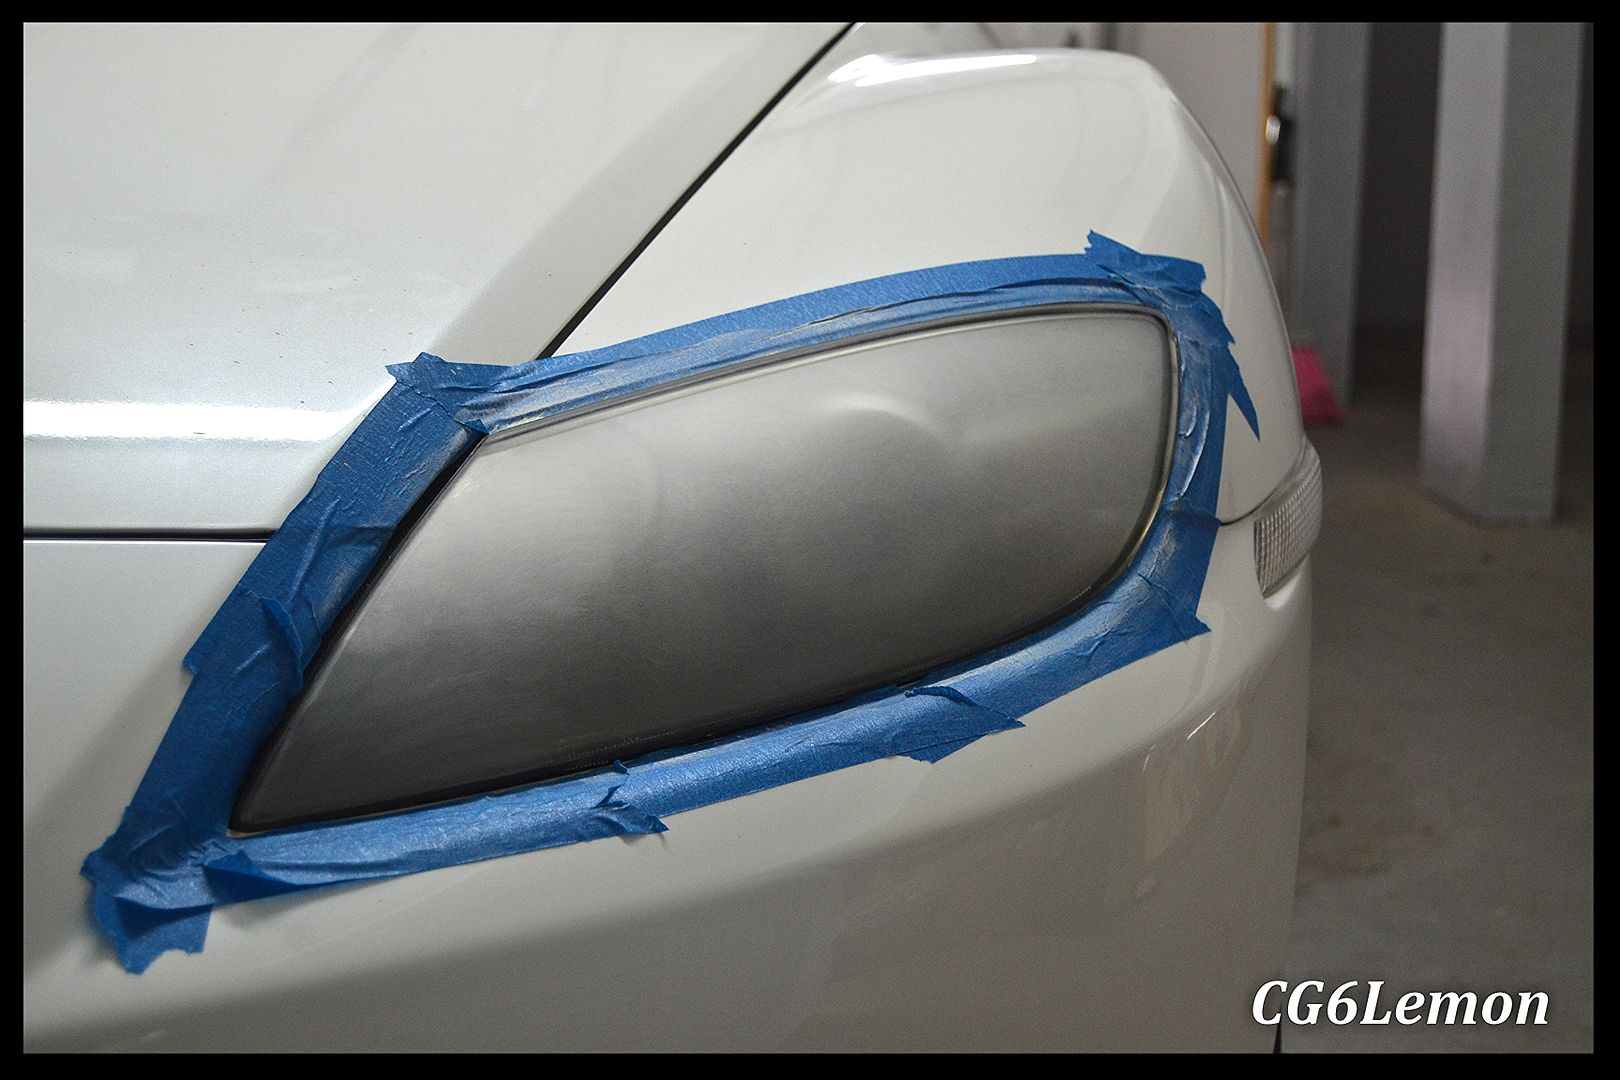
Started off correcting and restoring the headlights first. Taped off ready to go

Ran into a minor circumstance that I did not factor in for the quote. My 3 inch sanding disks were not able to reach the corner of the headlight design. I sanded by hand and polished by hand


Dry sanded 800, wet sanded 1500 and 3000

Before and afters


Other side


Moving onto the beat up exhaust tips. Used 0000 steel wool and metal polish. Both the customer and I were extremely happy with the outcome


Just to show how nasty it was inside the tips


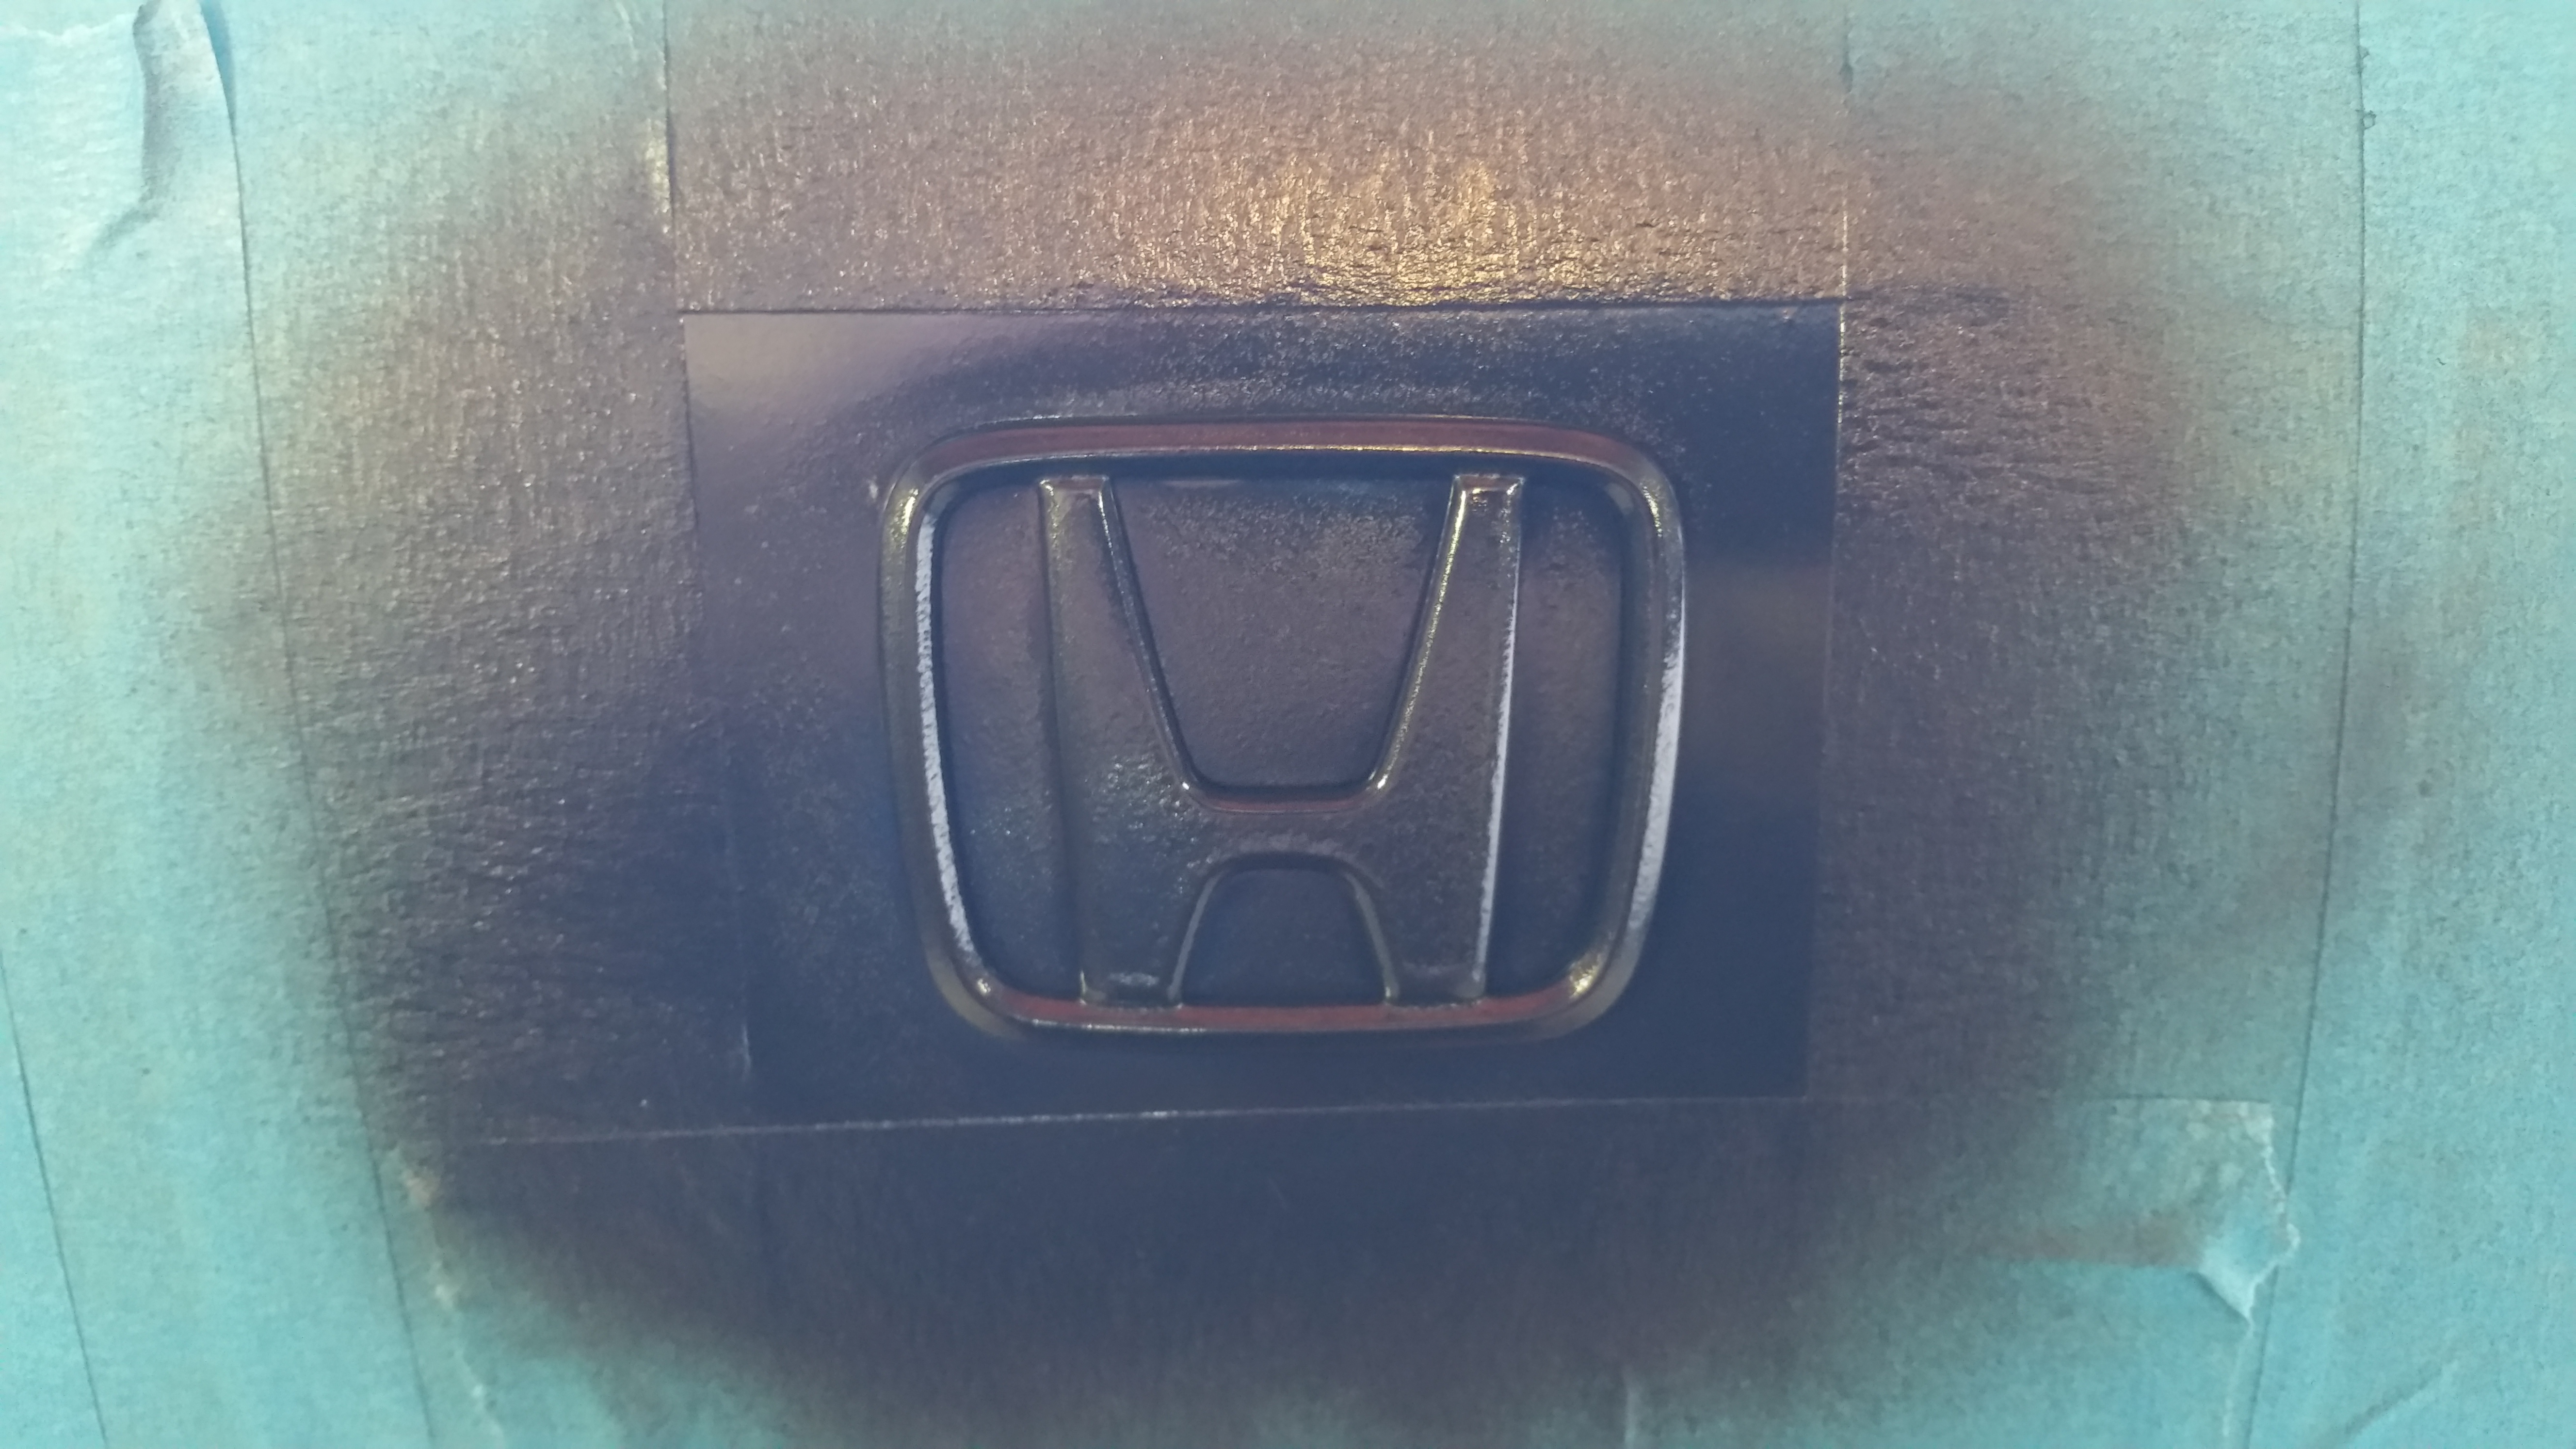
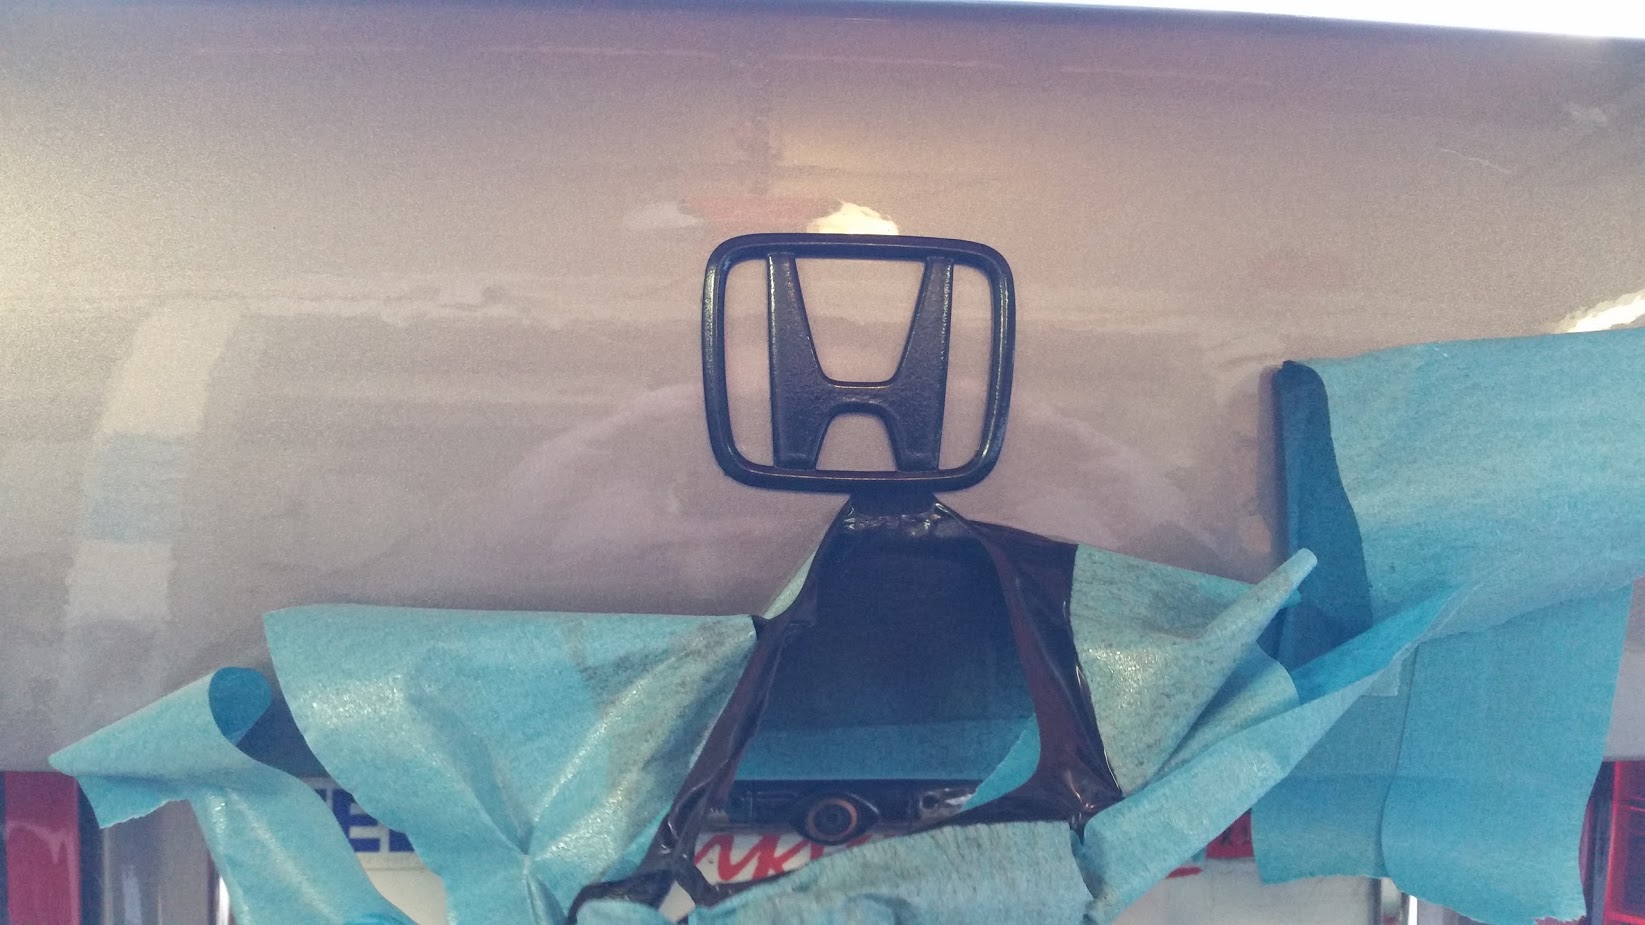
Cleaned up the textured, porous plastic trim with Opti Power Clean to prepare for Carpro DLUX trim coating

Washed

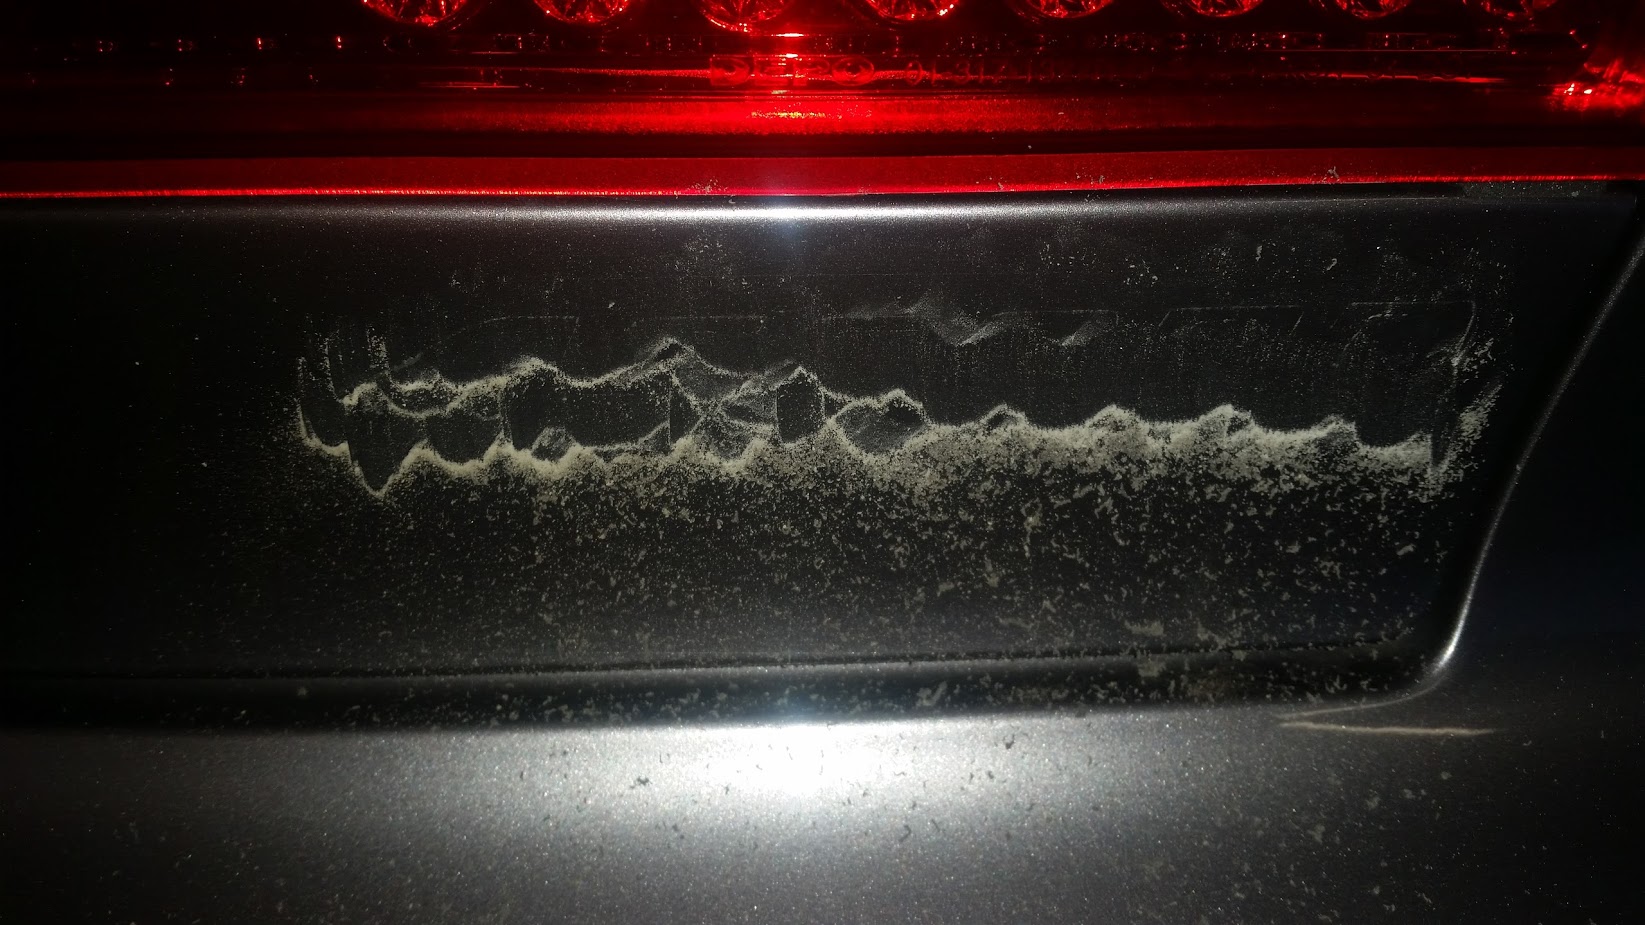
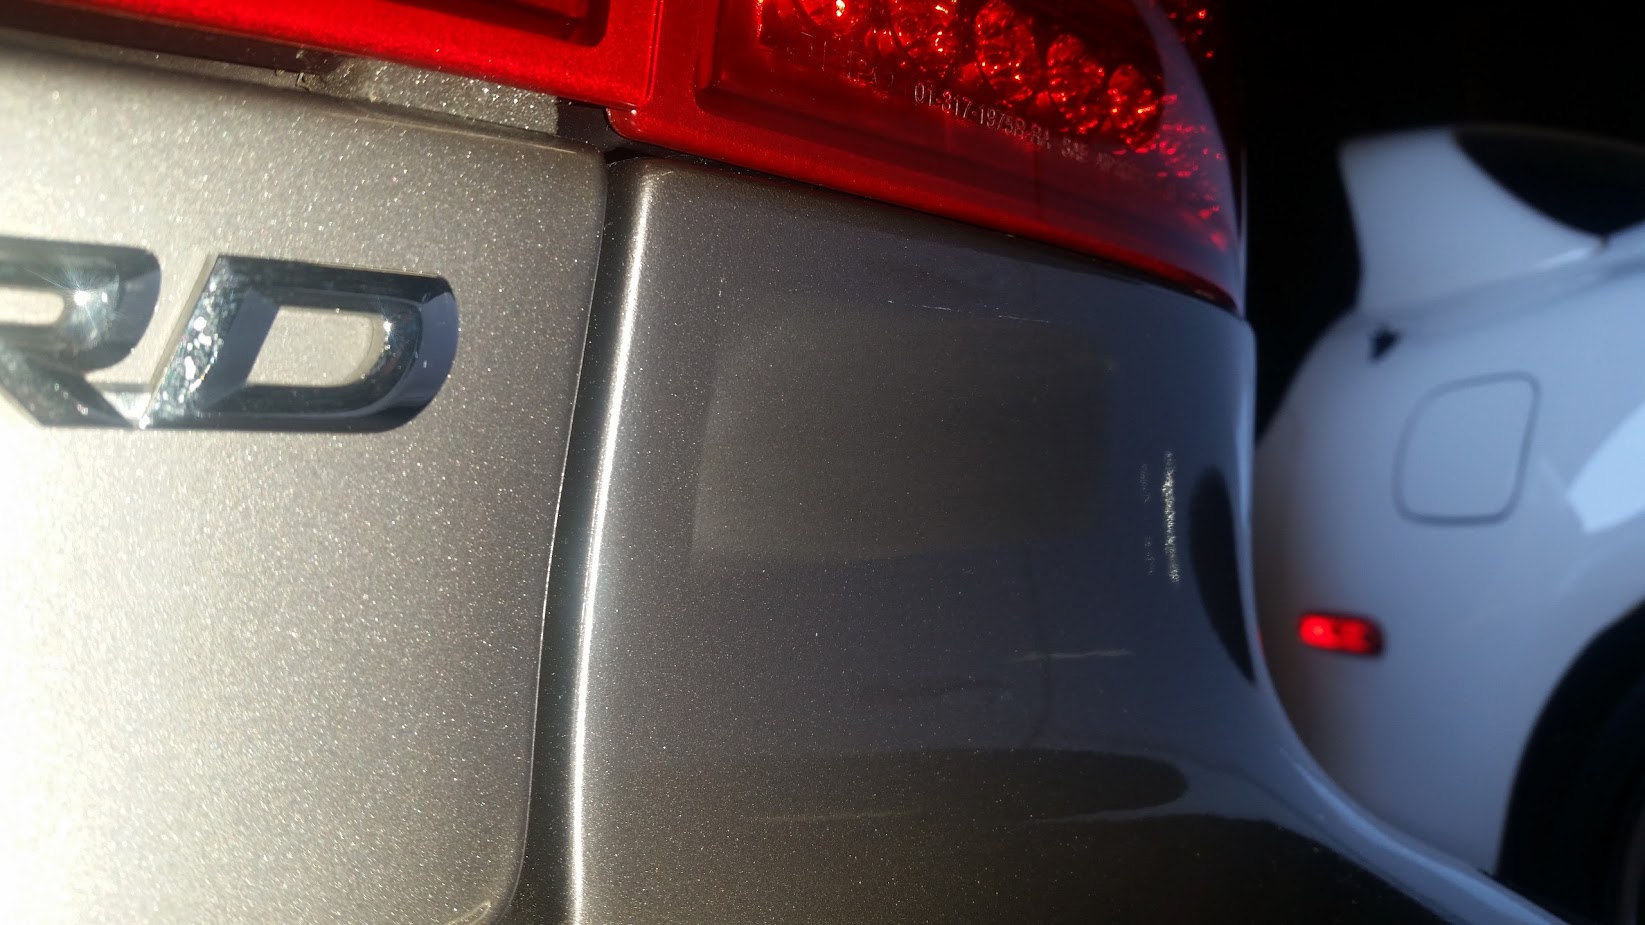
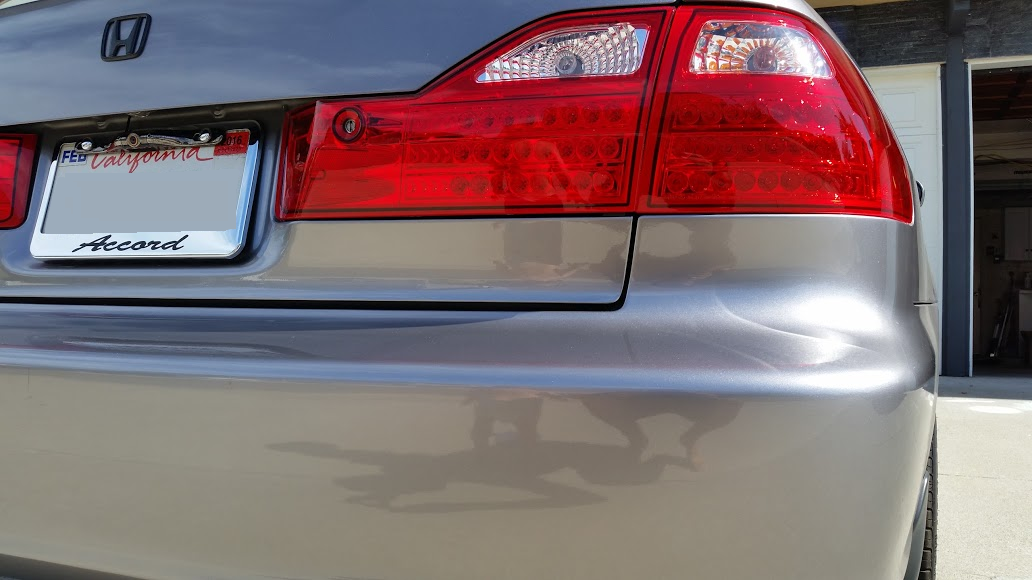
Decontaminated the paintwork using Iron X and clay sponge


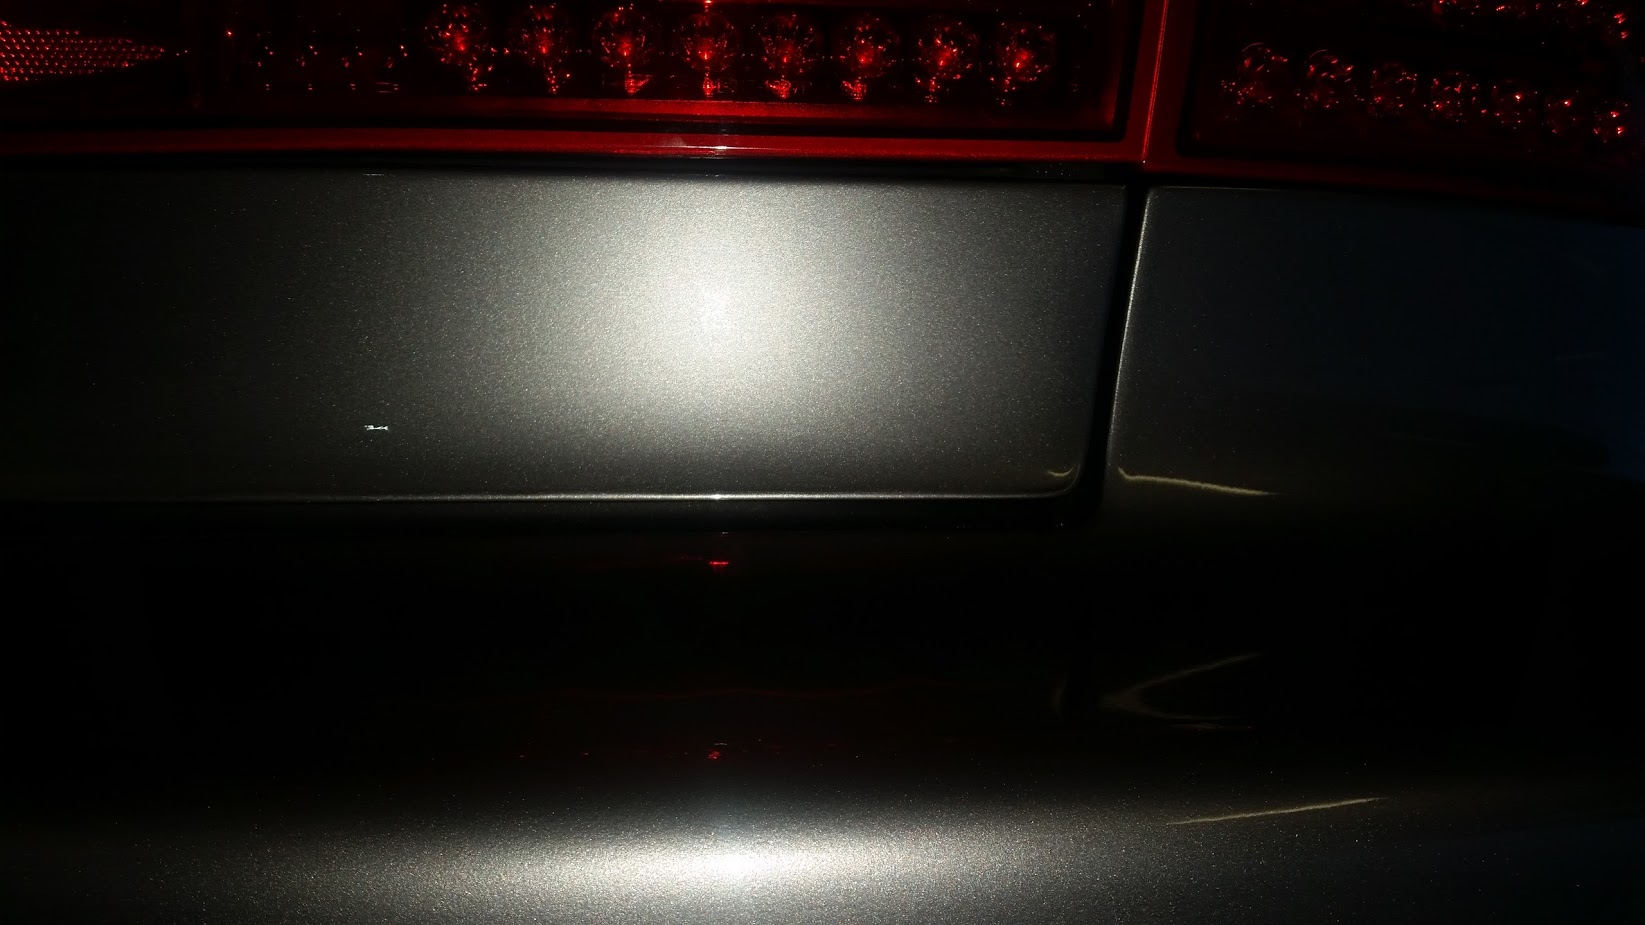
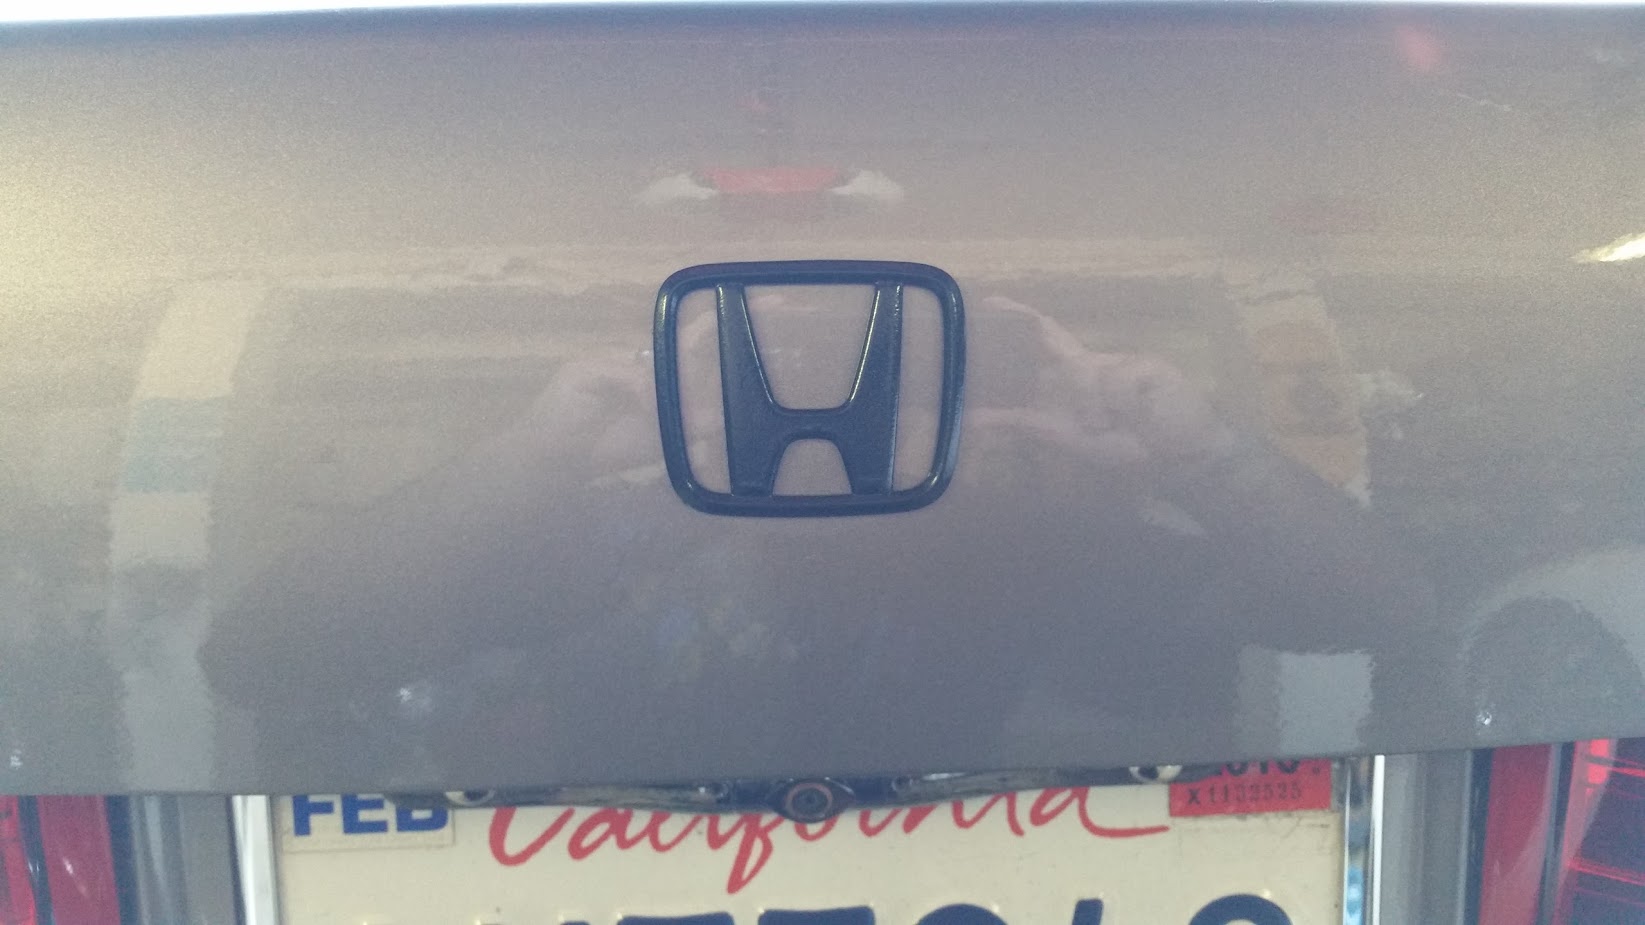
The problematic spot on the trunk lid turned out spotless

Applied Opti Lense Coating on the headlights

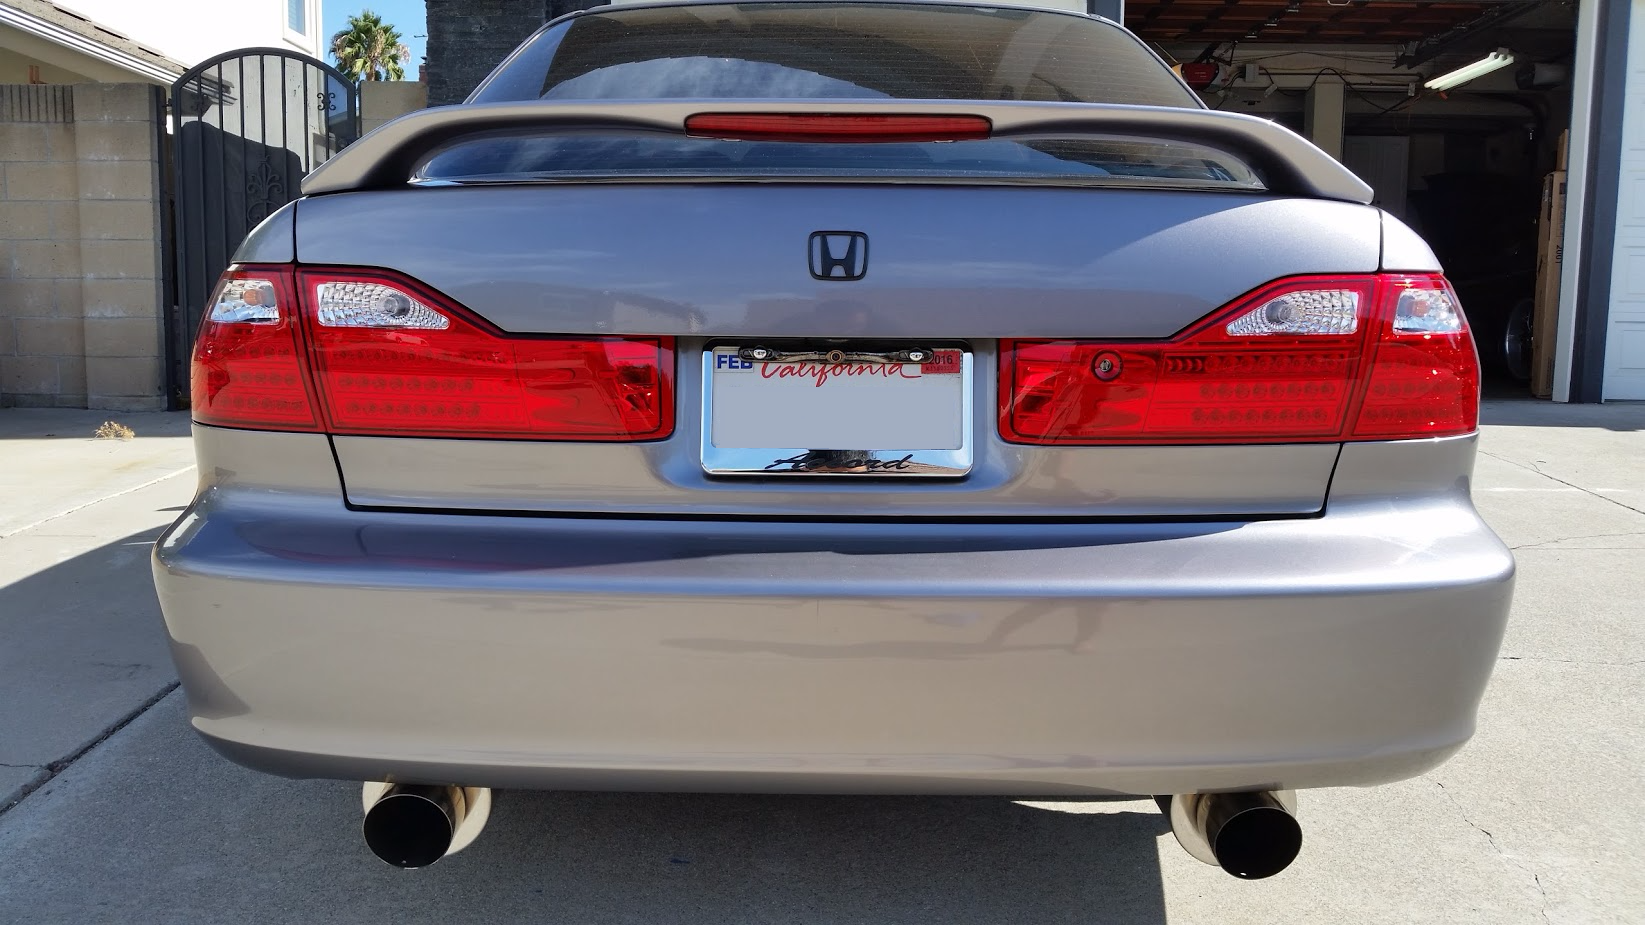
After shots. Will add a couple more in the future. Some shots did not turn out good

Things learned from this job:
Factor in headlight design to determine more accurate quoting
Cleaning exhaust tips is not rocket science but requires a lot of time and elbow grease
Rear diffusers are known to badly fade on this model
The plastic for this headlight did not scratch easily even after OEM coating was sanded off
This customer contacted me on a forum about almost 2 months ago to talk about some "rust" looking damage on his trunk lid. We exchanged information briefly and I set up an appointment with him to drop the car off so I can go over the car and his concerns for the car in person.
Upon arrival the car was clean since he mentioned he didn't drive it for a long time and he just garaged it and drove his daily beater. He went over the problematic areas and I noted them down in my mind as we were going over the car. The areas of his concerns were headlights, iron particles all over the car, but mostly concentrated on trunk lid, improving neglected muffler tips, and improving rear diffuser since it's faded.
I explained to him what caused each defect and what my process was to correct each problem. He felt very confident in my approach, knowledge, and expertise. We set up an appointment to drop off the car for me to work on. Before he took off I quoted him a 6-7 hr job. I underestimated the muffler tips, and the design of the headlights which required more time to get it presentable so total time came to 8 hr 30mins.
Car: 05 Mazda RX8

Started off correcting and restoring the headlights first. Taped off ready to go

Ran into a minor circumstance that I did not factor in for the quote. My 3 inch sanding disks were not able to reach the corner of the headlight design. I sanded by hand and polished by hand


Dry sanded 800, wet sanded 1500 and 3000


Before and afters


Other side


Moving onto the beat up exhaust tips. Used 0000 steel wool and metal polish. Both the customer and I were extremely happy with the outcome


Just to show how nasty it was inside the tips


Cleaned up the textured, porous plastic trim with Opti Power Clean to prepare for Carpro DLUX trim coating

Washed

Decontaminated the paintwork using Iron X and clay sponge


The problematic spot on the trunk lid turned out spotless

Applied Opti Lense Coating on the headlights

After shots. Will add a couple more in the future. Some shots did not turn out good

Things learned from this job:
Factor in headlight design to determine more accurate quoting
Cleaning exhaust tips is not rocket science but requires a lot of time and elbow grease
Rear diffusers are known to badly fade on this model
The plastic for this headlight did not scratch easily even after OEM coating was sanded off
Last edited:


") Watch some Youtube vids too. There are a ton of them.
Watch some Youtube vids too. There are a ton of them.