DIY LEDs gauge cluster

Momentum

Well-Known Member
Joined
Aug 30, 2010
Posts
490
Reaction score
1
Location
Texas
The second one is what I am using but I have the blue LEDs in there now.
The white that I had in there before was the same company and bulbs just a different color.

Just know you get what you pay for with LEDs

My bad, I thought they were different ones.
 

Sil2DrV6

Well-Known Member
Joined
Oct 15, 2012
Posts
1,803
Reaction score
51
Location
USA
^The reason why I'm considering this shape is b/c I heard this:
In fact you only want a tiny amount of light going directly towards the front as possible to avoid hot spots.

He says "a tiny amount" on top of a bulb, but this one has no led on top. Is that why you say it wouldn't work?

Edit: Oops, my bad. I didn't realize that there was a discussion after the first post by Momentum. Okay, so the second one WORKS with no hot spots. That's awesome. Thnx for the clarification, Duke!
 
Last edited:

Dukebb23

Duke Blue Devils
Joined
Dec 16, 2012
Posts
640
Reaction score
3
Location
Smashville,TN
I think because it was not the rounded base is why he said that.
They both should work but you really need to have one led in the front for a bigger spread.

I have tried multiple LEDs in the gauges and the 5 led one from superbrightleds works great with little to no hot spots. Here is my blue LEDs in the gauge.

EA006A6C-A063-4343-818D-34C5DF8D2730-4887-000005D217692E7A_zps4e481b16.jpg


Here's the cool white
14C1CA16-5FBC-4981-B514-C0AEA365BE61-13735-0000138817D8B396.jpg


The blue has been changed on the bottom since it hot spotted really bad on the odo.
Go with this one for the other 2 needed.
http://www.superbrightleds.com/moreinfo/instrument-cluster-gauge/74-led-bulb-3-smd-led-wide-angle-wedge-base/228/
 

Ofnir107

Well-Known Member
Joined
Oct 24, 2010
Posts
284
Reaction score
3
Location
Denver, Colorado
Hey guys and gals, I thought this would be the proper place to put this (mods can relocated, delete, etc if it isn't). I have been getting a few PMs about what specific bulbs I used for my setup. I just copied and pasted what I sent to everyone that has asked me. There are specific links to the bulbs I purchased from superbrightleds.com in the post.

Ofnir107 said:
I'm not sure if there are any differences between the I4 and the V6 models, but I have a V6. I bought most of leds from www.superbrightleds.com. V-LEDs is another alternative most people like.

The bulb sizes you will need for the your gauge cluster are five #194 bulbs and three #74 bulbs.

These are the #194 bulbs I used. After purchasing three difference sets of bulbs, these end up being the ones with the most even distribution of light. The single wide angle ones gave hotspots. Some people make the mistake of replacing the #194 bulb that's connected to the gas light. If you do that, it'll constantly be on. The ones you need to replace are the obvious ones across the middle of the cluster for #194's.

As for the #74 bulbs, I used two specific ones. This is the one I just for the odometer. It has the 360 beam angle. The two #74 bulbs that I used for the overhead ones are these ones. I used the 360 degree ones for the overhead ones but they were too bright for my tastes. I ended up just going with the wide angle ones so they produce just enough, but not too bright like 360 one. It's your call on which ones to use for the overhead ones though.

Also note that if some of the bulbs don't work when you plug them in, just flip them around and they should work properly.

As for the HVAC, I'm not sure how the I4 model is different, but for my V6 model, you need to use the NeoWedge series. The tricky thing about these ones is that they're not necessarily plug and play like the ones in the cluster. Since they're not OEM, you have to mod the base of them by trimming off some of the plastic (using a Xacto knife) so they can twist in. It's kind of a hassle but I can tell you how I did it if you really want to. I can't remember, but I think I used three NeoWedge 4 Series and three NeoWedge 5 Series bulb. I used the high powered ones as a opposed to the wide angle because I didn't want to risk them missing spots. It turned out really well.

If you just merely want to replace the bulb and keep it stock, TASAuto sells the stock one. I'm not 100% sure this is the bulb; you may want to take your HVAC out and take a look.

Summary (for V6 model):
Five #194 Bulbs for the gauge
1 #74 bulb for the odometer
2 #74 bulbs for the overhead lights in the gauge
NeoWedge series for the ones in the HVAC (4 Series and 5 Series. three each)

I tried taking a more accurate picture by messing with my camera settings. Still a newb when it comes to the camera, but it's brighter than the the picture shows. I'm pretty satisfied with my set-up. IMO, all the other colors just make it hard on the eyes at night (with red being the exception). Everyone has their own preferences.

IMG_0438.jpg

IMG_0439.jpg

I hope this helps everyone. I certainly don't mind the PMs; however I thought this would be better for people who needed a quick reference/reply to their questions. =)
 

Sil2DrV6

Well-Known Member
Joined
Oct 15, 2012
Posts
1,803
Reaction score
51
Location
USA
^ & ^^ Thanks guys. I appreciate your info. I'll take those into account.
 

RussianMenace

Member
Joined
Jul 7, 2013
Posts
9
Reaction score
0
Location
RVA
Anyone know what size/type LED would be a suitable replacement for the 3W gauge bulb thats on the far left (looking at the back ) behind the temp gauge? Looks bigger than a 74 but a lot smaller than a 194.
 

kolayxdoh

Active Member
Joined
Aug 4, 2013
Posts
39
Reaction score
0
Location
mnnmmn
Do you guys have a solution to hot spotting? Something like the clock fix with the aluminum foil?
Don't want to go buy another set of leds when I already have a set
 

its_budddah

Active Member
Joined
May 3, 2013
Posts
31
Reaction score
0
Location
california
Hi guys,

I know this project has been done to death by lots of members on this forum as well as other Honda forums, but there's still a lot of questions regarding bulbs specs. So here's my LED gauge cluster project.

First off, I want to thank talontsiawd for his great write-up on this issue (http://www.6thgenaccord.com/forums/showthread.php?t=2642). His thread gave me the inspiration to do mine.

First off, bulbs! Can't do LED conversion without LED bulbs, right? I got mine from Superbrightleds.com. Their website is easy to navigate and simple to use.

I ordered 3 #194 wedge base bulbs in cool white with 120 degree beam, non-polarized, 12v DC:
- WLED-x-x: 1 LED wedge base bulb-WLED-W120 ($1.39 each)

I ordered 3 #74 standard 5mm twist lock bulbs in cool white with 120 degree beam, 12v DC:
- T1.5-x: 5mm LED instrument twist lock lamp-T1.5-CW ($1.79 each)

Once they arrived, I removed the instrument cluster. The hardest part for me was the plastic trim piece.

picture.php


picture.php


After you remove the 2 screws on top, use a flat head screw driver (if you want to be careful, make sure to wrap the screw driver head in tape) and GENTLY insert to unlatch the 2 clips. I was impatient and broke my right one :bash:

picture.php


picture.php


Once the plastic trim piece is out, then everything else is cake. The following picture lets you know that you need to remove 4 screws that hold the instrument cluster in place. Once the screws are removed, unplug the 3 connectors located at the top.

picture.php


The back of the cluster should look like this. The image is from a 98 EX (mine is a 98 LX MT), so there are some variations, but the bulbs that you need to remove are pretty much the same (I'm not sure about AT, can anyone verify?)

picture.php


Remove the bulb holders circled red in the diagram above. Do this one at a time. Turn the bulb holder counter-clockwise to unlock and gently pull out to remove. Wear gloves or use a soft napkin to remove the bulbs as to not leave oily residues on these bulbs (just in case you want to reuse them later). Insert the LED #194 wedge bulbs into the holder. (They're non-polarized so no worries about how you put them in the holder.) Place the bulb holder back in and twist clockwise to lock.

Next, remove the bulb holder circled green on the left of the diagram. Same thing, twist counter-clockwise and gently pull out to remove. You won't be removing the bulbs from the holder for this one. Insert the LED #74 (which is the T1.5 twist lock lamp) into the receptacle and twist clockwise to lock. It's important to remember that these are polarized, so if they don't light up when you plug everything back in, you will need to unplug everything and take this lamp back out. This happened to me, so I learned from experience.

If you want to change out the LCD lamp, then remove the bulb holder circled green on the bottom of the diagram.

Put everything back together, turn on the lights, adjust your brightness and enjoy. Have fun, guys.

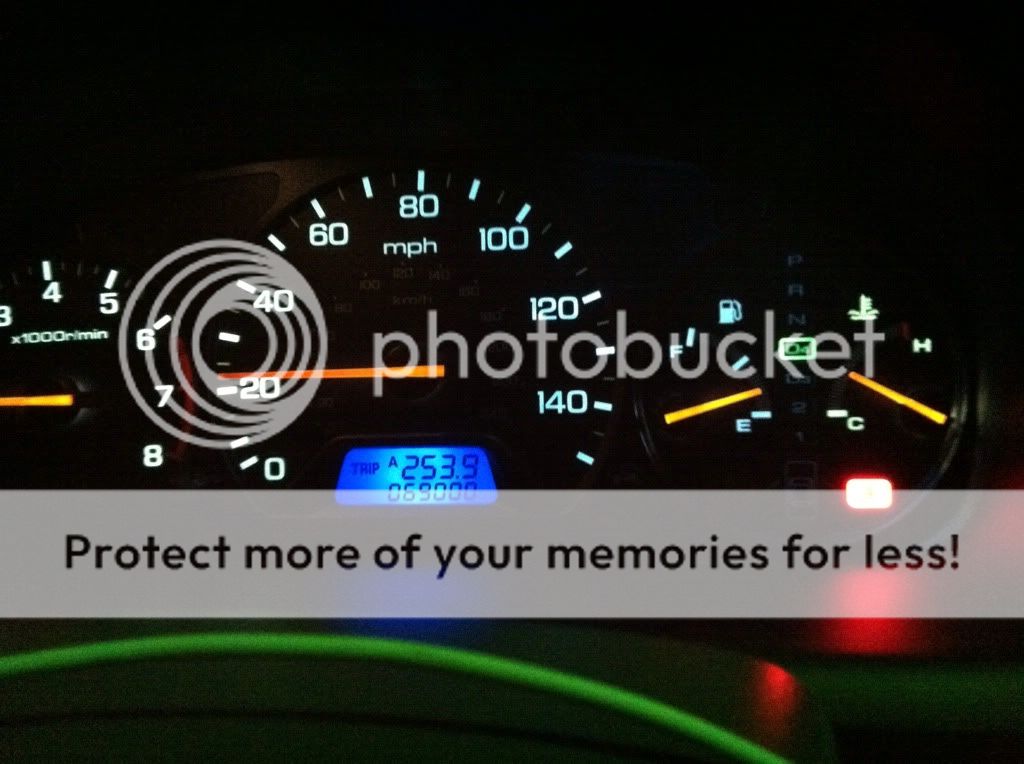
Ok, finally have time to take pictures of my finished product.

picture.php


picture.php


picture.php

There's a bit of a hotspot on the LCD screen. Nothing too noticeable.

picture.php


You have any Idea what It could be if my middle mph light and fuel tank light arent working? I tried replacing the red circled on in the middle (the one with the black cable) and the other two that go towars the front of the dash, since then it hasnt worked lol any suggestions would be really apreciated :)
 

Snipe

New Member
Joined
May 18, 2014
Posts
2
Reaction score
0
Location
NY
Excellent thread guys. I recently replaced a few burnt out bulbs with LEDs from superbright led.com and they look great! My only question for you is how did you resolve the gas warning light issue?

When I replaced my gas gauge light it permanently lit up the gas warning light. I read a brief comment somewhere in the thread that stated something about a voltage irregularity and that we may need a resistor somewhere... Then no more mention of it, but I see in most of your pics that you do not have that problem.

How did you work around the gas warning light being on 24/7?

Thanks
 
Back
Top