

Russianred
Snail Spools You!
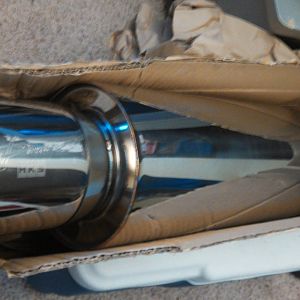
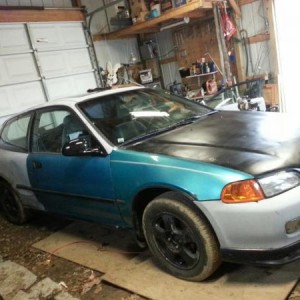
Re: Going for a re-tune.... (Round #2) Updated 1/24/13
Figure out where the intercooler is going to sit first, then worry about piping after, base it on the intended position of the intercooler. All it would take is a spotweld on each of the 4 corners of a circle, like if you were to make a cross across it. That will work as effectively as any bead when the T-clamps are tightened. The only point of beading is so the couplers don't blow off under pressure. Spotwelds should do the trick after the piping is cut to fit, just make sure they are round 'bubble' spotwelds and if there are any sharp edges obviously deburr it. If you want to get real fancy, take it to a tuning shop to properly bead it.
Figure out where the intercooler is going to sit first, then worry about piping after, base it on the intended position of the intercooler. All it would take is a spotweld on each of the 4 corners of a circle, like if you were to make a cross across it. That will work as effectively as any bead when the T-clamps are tightened. The only point of beading is so the couplers don't blow off under pressure. Spotwelds should do the trick after the piping is cut to fit, just make sure they are round 'bubble' spotwelds and if there are any sharp edges obviously deburr it. If you want to get real fancy, take it to a tuning shop to properly bead it.